Monday, February 4, 2013

February is ready my Little Bees!

UPDATE
Emily was nice enough to school me on 'why I had such a screwy time on this pattern'...so for those who have not finished theirs: see the red corrections on construction of the feather & such. Sorry and Thanks Emily :)
Once again it is my turn to pick a pattern. I fell in love with this Feather Bed Quilt by Anna Maria Horner. I think it is soooo cool! And It looked relatively straight forward...
However after a few frustrating hours,
I have renamed this square:
Boogers, Cream Cheese & Swear Words!
(I truely hope you have an easier go at it then me. I found the instructions and the patterns a little off. Maybe between the two it will be much easier?)

SUPPLY LIST
Kona White
Strips of fabric @ 7.25" L x 2" <
(the number of strips depends on your feather...see further down)
Colors:
Mostly anything goes...maybe not pastels or neons.
I want happy colors.
1" gray strip ( I am sending this & do not cut or trim, use as is)
Pattern  for Feather from here:
http://www.annamariahorner.com/Feather.Bed.Quilt.pdf
E, D, B, F1 & F2 (please join pattern pieces F1 & F2 with tape before cutting out):
 are all cut out of Kona White
Please add 2" to pattern pieces F1 & F2 on the side opposite 'join to A &B,'
(I want the finish to be more of a square then rectangle)
Once you have cut out B, F2 & F1, flip pattern over and cut out again in white,
think 'mirror image.'
Set aside all white pieces.

Next you are going to sew your strips together like so.

Join with tape pattern pieces A1 & A2.
Lay pattern pieces A1 & A2 (one long pattern piece) across fabric
with the lines on pattern parallel to seams.
Ignore this ( Important: make sure the ends you will join share the same fabric pattern, like so.)

Pretend that my pieces are tapped together in one long feather.
and Cut.
You will need to flip over A1 & A2 and cut either from more stripped fabric sewn together
or from one really cool piece of fabric. 
SEAMSTRESS' CHOICE

Once all your pieces are cut, lay them out.
It helps to make sure you have everything cut the right direction...


Attach A1 & A2.
Then attach B to the bottom of A2.


Next attach one side of the feather to the C.
Make sure to align the tip of A1 to the edge of C.
Iron open, and attach the other feather to C,
This time align at the center seams of the feather,
not from the tip, then sew.


Then trim the top excess of C in line with both
angles of the tops of both A pieces.
This will create a point in thecenter of C.


Like so.

Next attach D. Iron open, then attach E.
At this point I wanted to scream.
My D & E were not aligned nicely like Anna Maria Horners example.
I decided to forget about it, it would work it's self out...it did.


Attach F1 & F2. 
Be sure to align F1 & F2 with the centers seams of the feather.
Not the top or bottom.

Iron Open...and
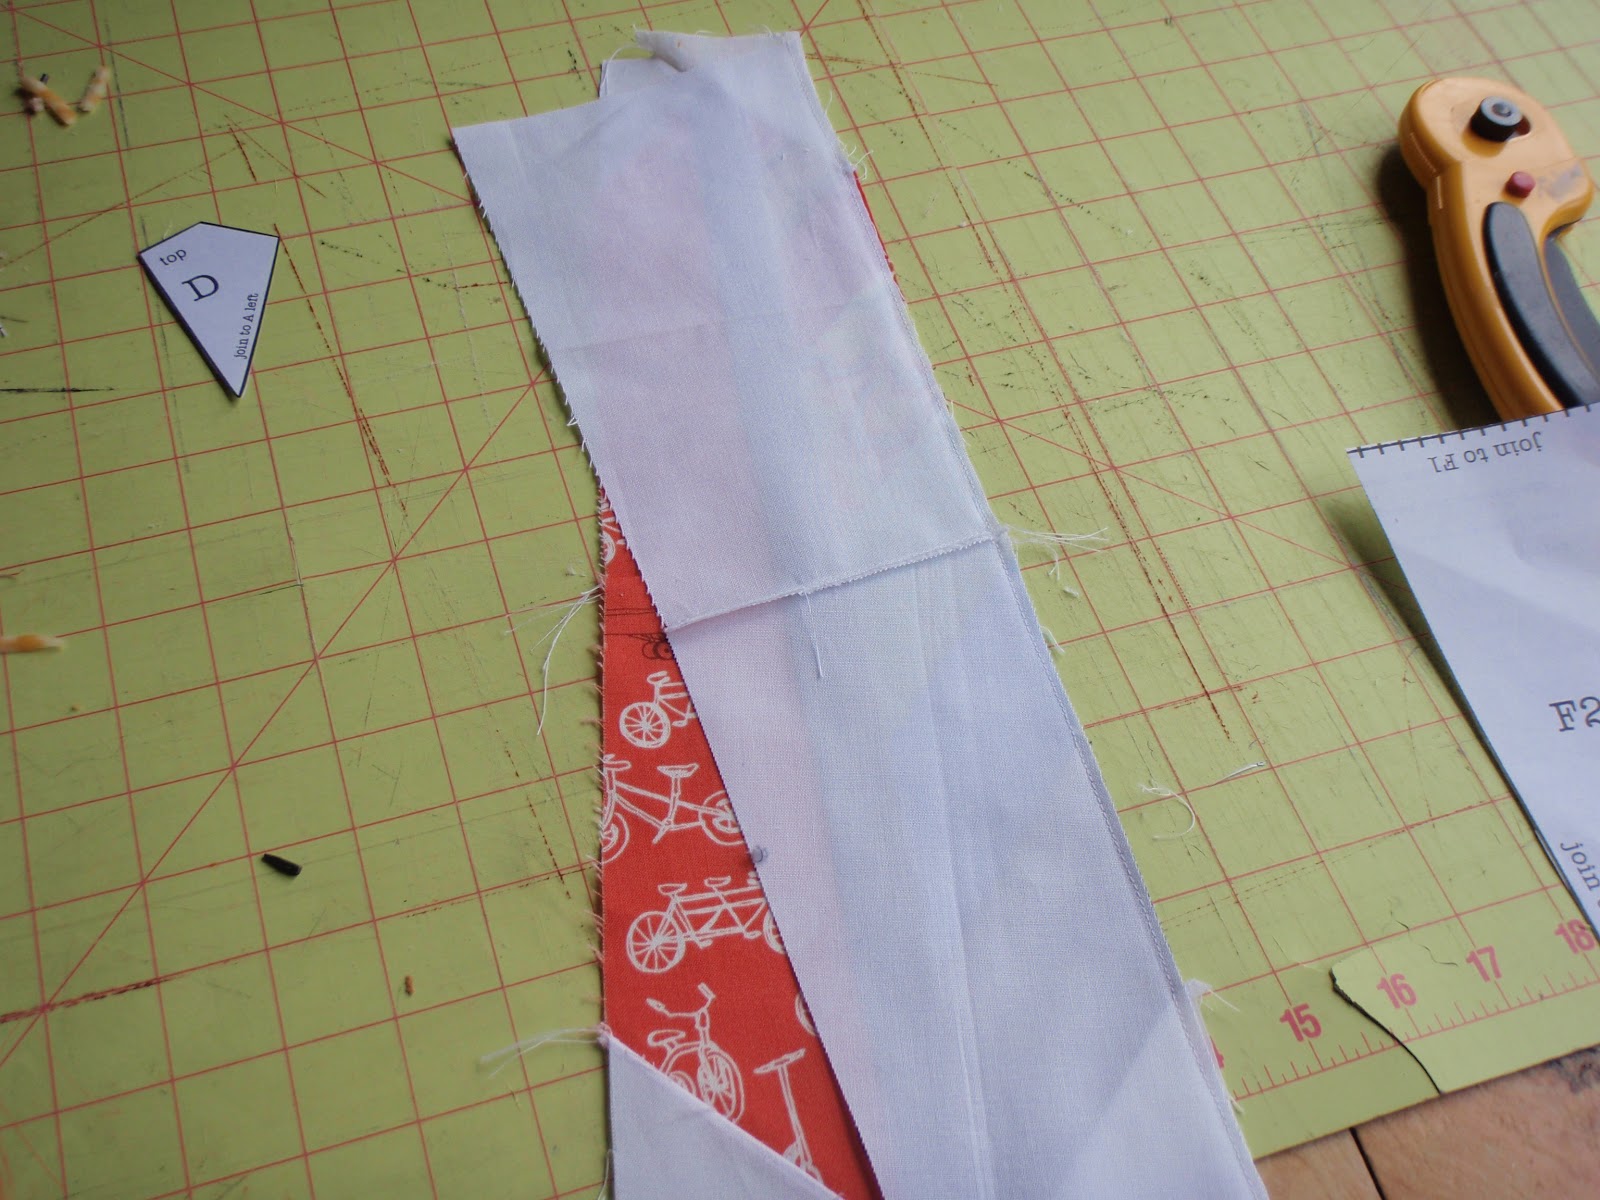
DONE.
DO NOT TRIM...I did so you could see how pretty it will end up but you DON'T :)

I had a little helper, while sewing ....notice the cream cheese and boogers?


I will be donating this...just not sure who to yet.
Hugs!
Teriney 

Thursday, January 31, 2013

love letter

I decided to make a pillow for Valentine's Day with this fabric I've had for a long time.  I LOVED Becca's envelope squares last year, so I decided to use that as my inspiration.  


Get it?  It's a love letter.  I'm tickled with how it turned out.  And the only thing I had to buy was a zipper!

Tuesday, January 29, 2013

The very busy spider

Here you are sister friend

Love you, hope you like it.

Christmas 2012... Gone, but I'm ready for 2013!

I finished it!!! It is as beautiful as I had hoped and thought it would be. 
THANK YOU for sending your squares so quickly. If I hadn't been sick for so much of the holidays, I think that I could have had it ready for Christmas 2012. 


But I am ready for Christmas, 2013!! I love it and have it in the Living Room right now. It will be a little bit Christmas in there while enjoy it. The blue border matches the Hearth Room too, so it will be beautiful in either main room of the house.


 Here is the back. I have 2 strips of the front fabrics. I am getting better at getting those straight. Yay! 
I am also getting much nearer to the ditch when I stitch!


Thank you 3 Sisters for these incredibly beautiful fabrics. I am so happy with everyone's squares!


THANK YOU, LADIES!!
Merry Christmas... 2013!!


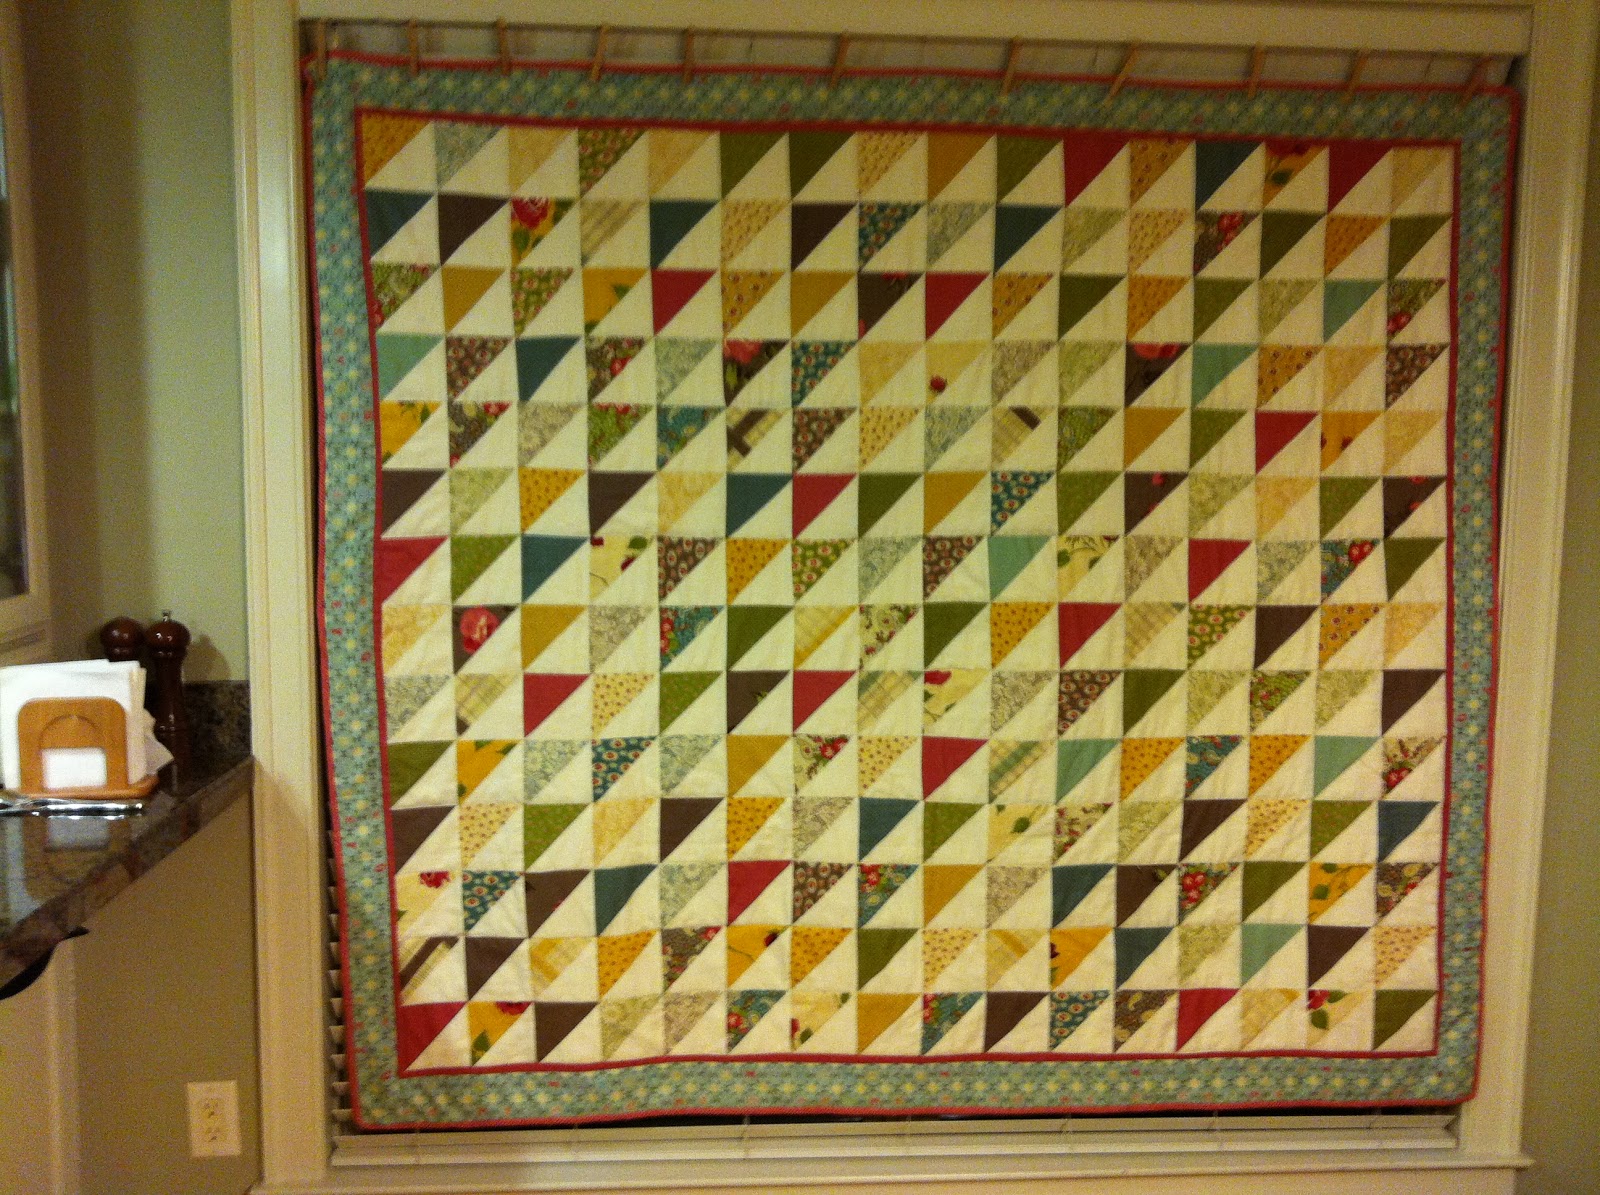
I also finished this triangle quilt for "Trading Pieces".  It is gorgeous!


I am getting better and closer to the "ditch"... I stitched this simply along the lines, parallel to each other.
I thought about diagonally... but decided that the lines would be cleaner.


Here is the back, it has 3 strips in it.


Love those "Urban Chiks" for this "Urban Cowgirl" line for Moda. Yummy!

I am taking this "finishing up" thing seriously... but remember... I have NO children at home to slow me down. My husband is a little worried about some kind of addiction here... hmmm.
It is so fun to finish a few things!!

Saturday, January 26, 2013

Finish It January: December's Block, Just a Month Late

So, here's something I learned about myself... my paper piecing skills have not improved since the last Spider Web block we did.
Paper piecing and me, just don't get along.
But, dear Jen, it is finished.  Maybe you can stick it in a corner or something.


Oh, and here's a link to a quilt I made and posted on my personal blog this month for a good friend.
But, since, it's Finish It January, I thought I should put it here for the record.
:)


Sunday, January 20, 2013

scrappy trip along

courtesy Simplify

Have any of you seen the craze in the blogosphere about this tutorial?? I keep seeing it pop up, and I have to admit, I think it's so fun! My very very first quilt I made with my grandma was a traditional trip around the world, so I like this design.  
Anyone tempted to try it?
Not that I'm suggesting it.
It just makes me want to get my rotary cutter out!

c/o Red Pepper Quilts

 c/o Lovely Little Handmades (I LOVE LOVE her color combos-and she likes cherries too!)
c/o crazy mom quilts

Friday, January 18, 2013

Spiderweb Pillows

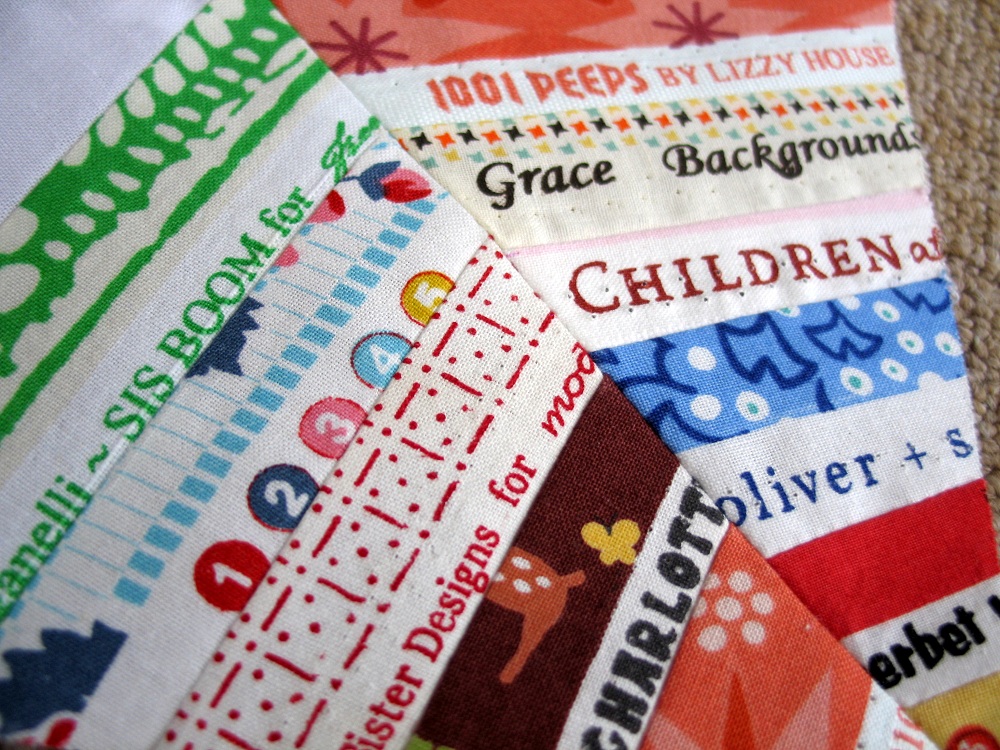
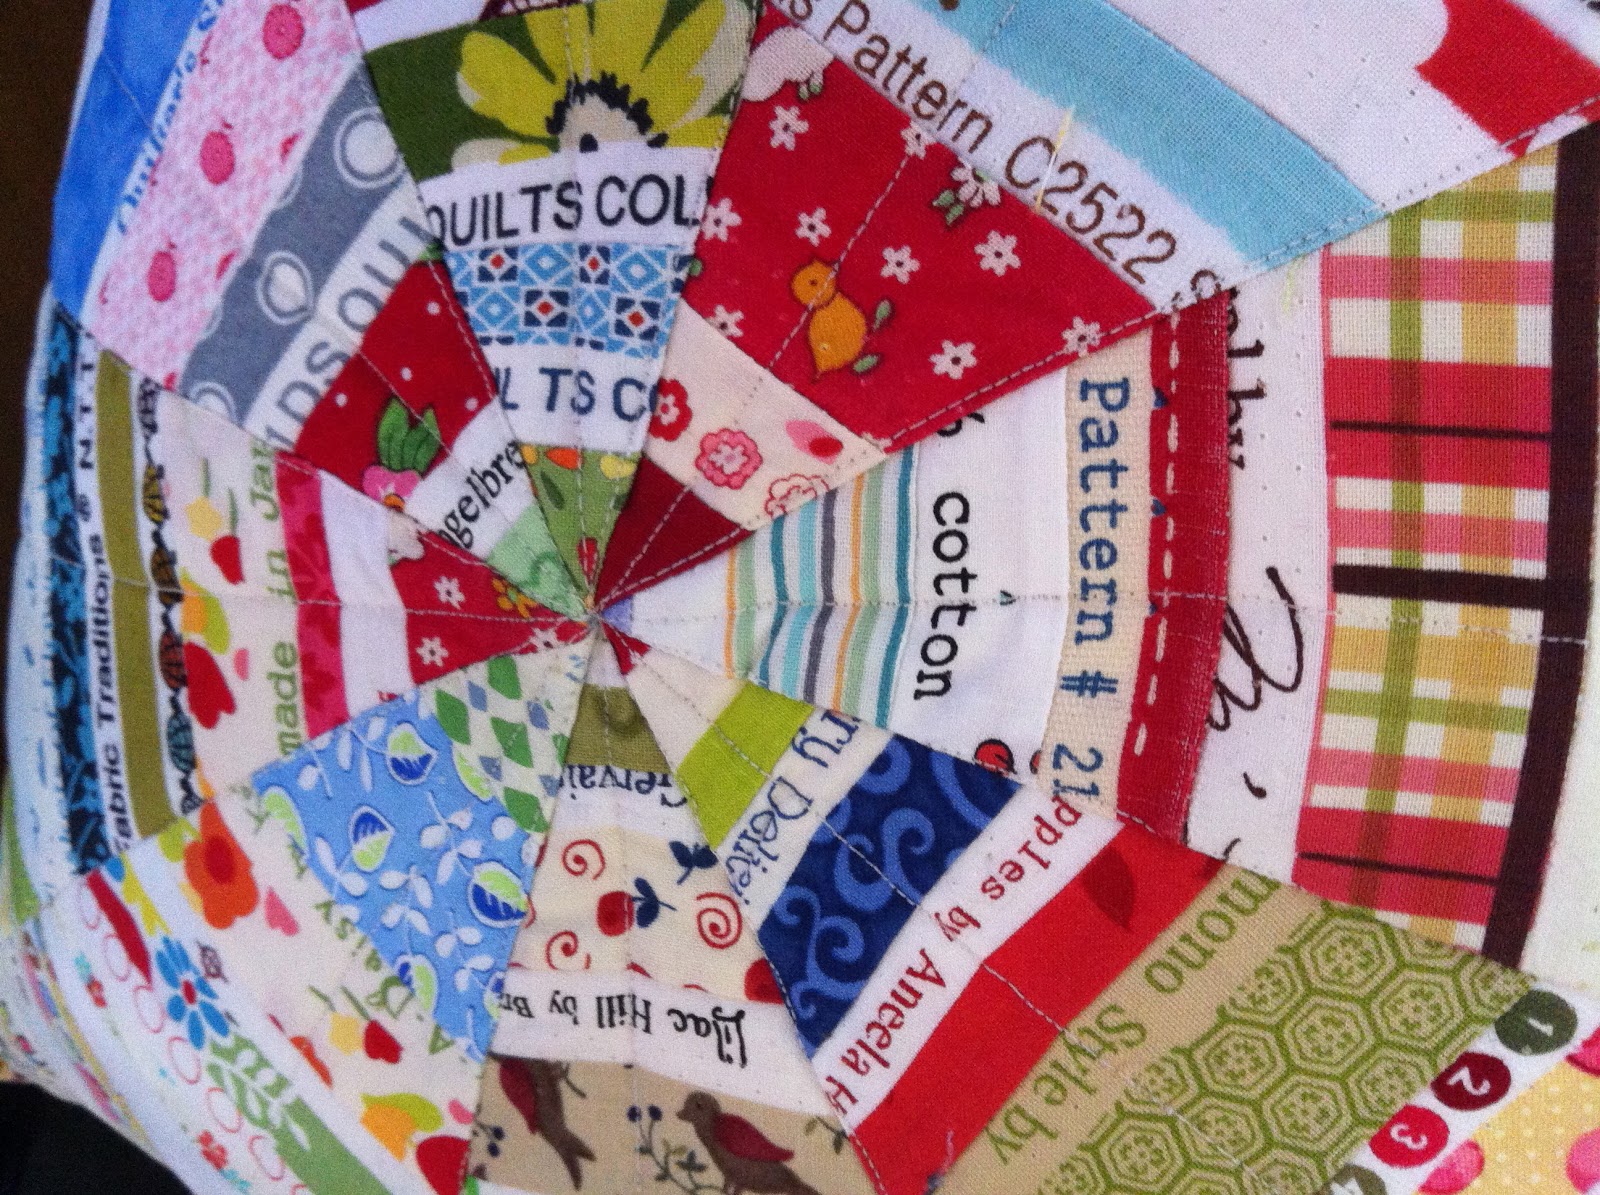
We might have mentioned that we loved making Jen's square so much that we made another for ourselves.  Just one.  :) Those suckers take a lot of time! That left us each with one square that we weren't sure what to do with, so I suggested we make throw pillows! We each added some long selvage strips as a border around the edge of our quilt squares. 

We also wanted to quilt the top of our pillows, so we got to try out Mom's new walking foot!


Here is my pillow!

 I backed it with a Hobby Lobby Grecian tile print that I snagged a few months ago and fell in love with and an Amy Butler polka dot.
 It has exactly what Jen said-an i spy look to it, I love seeing scraps that I can identify as last year's 12squared quilt, the first dress I made for my big girl, and the first tote bag I made.  I love it! Thanks for inspiring us, Jen!

Here is Mom's pillow!
 I hope you can see this backing-the red is a gorgeous stripe!


 She also made one to match her Trading Pieces quilt! So pretty!!
 Happy Quilting, friends!

Thursday, January 17, 2013

A couple projects

  Here are a couple of the projects I completed!  
I made this little quilt for a neighbor.
Her little man was only 2lbs.! 
I had a ton of fun making this one and it was my first time attempting free motion quilting.
It is far from perfect but I was proud of it.


I made this one for my little Ezra baby.
I couldn't manage to get a picture of it without my children on it. 
Luckily they make good models
even if they aren't dressed for the day (and it's 3 p.m.).  


His big brother is a little envious of it.


Jen, I worked on your square today.  
As you know things are slow going around here.
So hopefully it gets done soon.

Thursday, January 10, 2013

kristin's selvage web

i have to admit, i was dreading this one. 
then, i started. i immediately fell back in love with my selvages, and fell in love with my walking foot. the rest is history.
i love this block. i love working with selvages, in fact, it's probably my favorite part of fabric. i wish more designers utilized the selvage with tiny little icons of love.
i can't wait to see it together...please post your progress, Jen!!
i took lots of pictures as i played with my camera settings. shipping tomorrow!!