UPDATE
Emily was nice enough to school me on 'why I had such a screwy time on this pattern'...so for those who have not finished theirs: see the red corrections on construction of the feather & such. Sorry and Thanks Emily :)
Once again it is my turn to pick a pattern. I fell in love with this Feather Bed Quilt by Anna Maria Horner. I think it is soooo cool! And It looked relatively straight forward...
However after a few frustrating hours,
I have renamed this square:
Boogers, Cream Cheese & Swear Words!
(I truely hope you have an easier go at it then me. I found the instructions and the patterns a little off. Maybe between the two it will be much easier?)
SUPPLY LIST
Kona White
Strips of fabric @ 7.25" L x 2" <
(the number of strips depends on your feather...see further down)
Colors:
Mostly anything goes...maybe not pastels or neons.
I want happy colors.
1" gray strip ( I am sending this & do not cut or trim, use as is)
Pattern for Feather from here:
http://www.annamariahorner.com/Feather.Bed.Quilt.pdf
E, D, B, F1 & F2 (please join pattern pieces F1 & F2 with tape before cutting out):
are all cut out of Kona White
Please add 2" to pattern pieces F1 & F2 on the side opposite 'join to A &B,'
(I want the finish to be more of a square then rectangle)
Once you have cut out B, F2 & F1, flip pattern over and cut out again in white,
think 'mirror image.'
Set aside all white pieces.
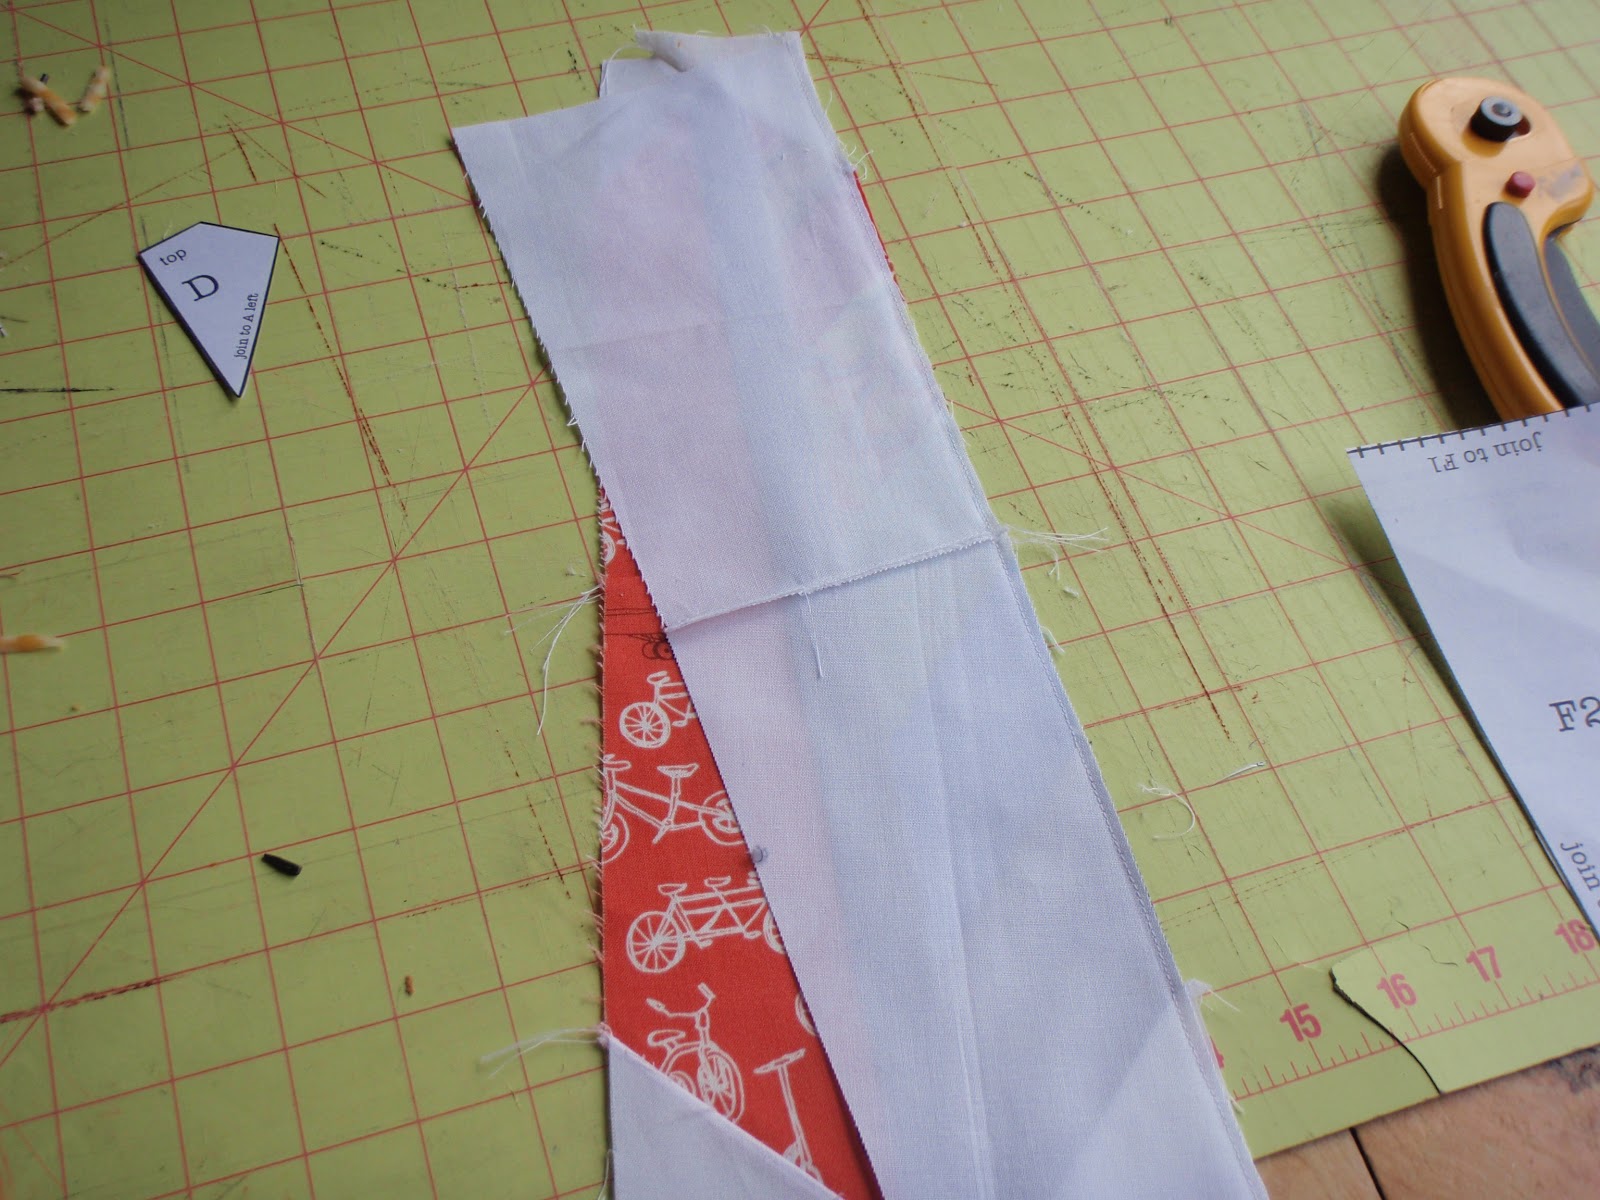
Next you are going to sew your strips together like so.
Join with tape pattern pieces A1 & A2.
Lay pattern pieces A1 & A2 (one long pattern piece) across fabric
with the lines on pattern parallel to seams.
Ignore this ( Important: make sure the ends you will join share the same fabric pattern, like so.)
Pretend that my pieces are tapped together in one long feather.
and Cut.
You will need to flip over A1 & A2 and cut either from more stripped fabric sewn together
or from one really cool piece of fabric.
SEAMSTRESS' CHOICE
Once all your pieces are cut, lay them out.
It helps to make sure you have everything cut the right direction...

Attach A1 & A2.
Then attach B to the bottom of A2.
Next attach one side of the feather to the C.
Make sure to align the tip of A1 to the edge of C.
Iron open, and attach the other feather to C,
This time align at the center seams of the feather,
not from the tip, then sew.

Then trim the top excess of C in line with both
angles of the tops of both A pieces.
This will create a point in thecenter of C.
Like so.
Next attach D. Iron open, then attach E.
At this point I wanted to scream.
My D & E were not aligned nicely like Anna Maria Horners example.
I decided to forget about it, it would work it's self out...it did.

Attach F1 & F2.
Be sure to align F1 & F2 with the centers seams of the feather.
Not the top or bottom.
Iron Open...and
DONE.
DO NOT TRIM...I did so you could see how pretty it will end up but you DON'T :)
I had a little helper, while sewing ....notice the cream cheese and boogers?
I will be donating this...just not sure who to yet.
Hugs!
Teriney