Friday, April 7, 2017

baby quilt


My sister-in-law requested these colors for her soon-to-be born baby boy.
I needed something quick and easy.  


Monday, March 27, 2017

disappearing nine patch

Here's a nice upside down pic of the blocks for Emolyn.  I am not quite sure why sometimes my pictures get turned around on the blog.  This turned out to much easier than I thought! :)  Sorry for the delay.

Thursday, March 16, 2017

Disappearing 9 patch for Emolyn

Hello!!! Is anyone out there??? I can hear crickets chirping here on our blog. ;)

Here are my disappearing 9 patch squares for Emolyn...


I finished a few things in the last few months...

I did a swoon friendship swap with friends here in Logan and gave it to my daughter, Vivian, for her birthday. I love it!


A hexagon pillow inspired by this wall hanging.


My Christmas houndstooth quilt - thanks everyone! I love how it turned out.


My husband asked for a quilt for Christmas. So I made a Sasquatch quilt for him since he's on the hairy side. :)


Happy Spring everyone! Let's see your projects!

Wednesday, November 2, 2016

for Valine

This was fun and out-of-the-ordinary.  Hope you like it.
Camie


Monday, October 3, 2016

For Lou's Beautiful Eyes (October's quilt)

For Lou's Beautiful Eyes


I have sent you the fabric, already cut into pieces A, B, C, D, E, and F.

Arrange your pieces edge to edge to match the pattern above and below.

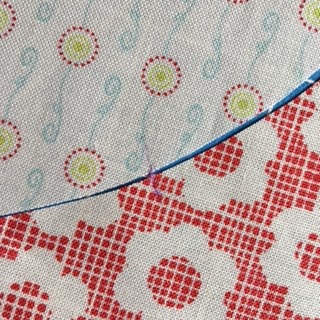
Mark the center of each apex and each hollow.


These will serve as reference points for sewing each curve.

Stitch your pieces together using a seam allowance of 1/4" referring to the reference points. (I found it easiest to pin the pieces together, but you are all probably better seamstresses than I.)

It is normal for the ends of each piece not to match, your block will be re-cut later.


Iron seam allowances out from the center largest piece. Clip curves to help everything lay flat.


Please trim the edges to be a square.  I will trim them all to size once I get them all.
Your finished squares should look like this:


I am sending you pieces to make two (2) blocks.

That's it!  Thank you so much!

Valine


Tuesday, September 6, 2016

More Christmas squares for Emily

I'm with Amy and Camie. I really like this square. I LOVE, LOVE Emily's fabric choice and the square was easy. 
(Unless you don't pay attention to the directions and make SIXTEEN half square triangles!) 
Luckily, I found some extra fabric online and did it right! 


Thursday, August 25, 2016

Keeping Cool with Christmas

It has been kind of hot and muggy here the past couple of days, and no air conditioning. boohoo!  So I kept cool by sewing up these fun houndstooth squares for Emily.  Such beautiful fabrics and such an easy pattern with a big wow effect.  This quilt is really going to be fun to see all finished up.

Friday, August 19, 2016

Snow Globe for Amy

Amy, this was such a fun square! I apologize for taking so long. But it is "in the mail".  I can't wait to see it finished.


Merry Christmas! 
Mardie

America, The Beautiful!

Over the past 2 years, 12squared has been helping me with a patriotic quilt. I finished it in time to display it for the 4th of July! Woo Hoo!! (Can you find your squares? lol)


I quilted a few pillows to match! Including some freehand stars on the front!


It makes me feel like I am at the Olympics just to see these! : )

Thanks for all of your help.
Mardie

Thursday, July 28, 2016

cock your head for this one

It was upright when I uploaded it!
Emily- I loved this.  Everything you touch turns to gold and I enjoyed this pattern.  I need a new project to work on so I might just be a copy cat AGAIN and start one for myself.  Maybe even the same fabrics.  Because I don't fall in love with my projects as much as I do yours. :)

Thursday, July 21, 2016

Christmas Houndstooth for August

Let's just keep this Christmas theme going, shall we? 

I've always loved this Houndstooth quilt design: 


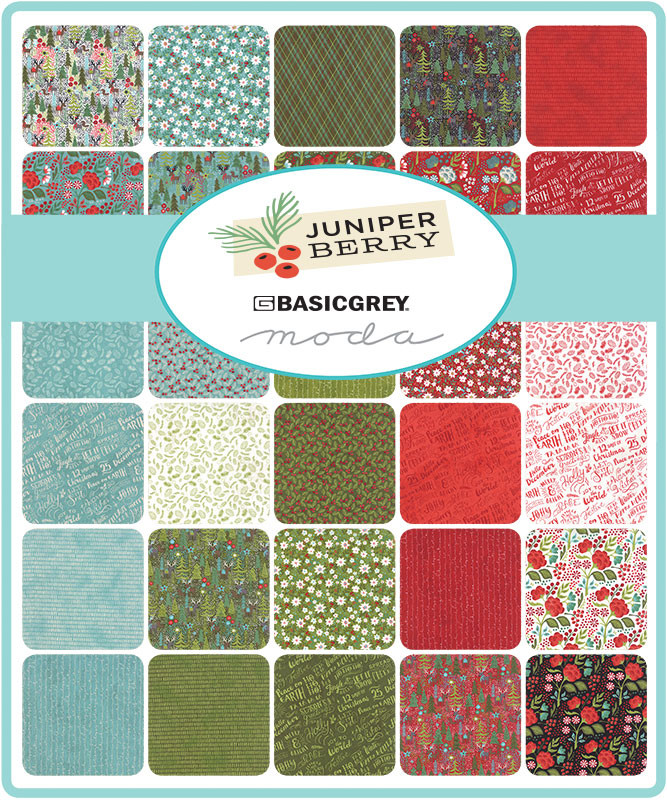
I found some great Christmas charm squares (Juniper Berry by Moda) and I'm so excited to make my first holiday quilt! 


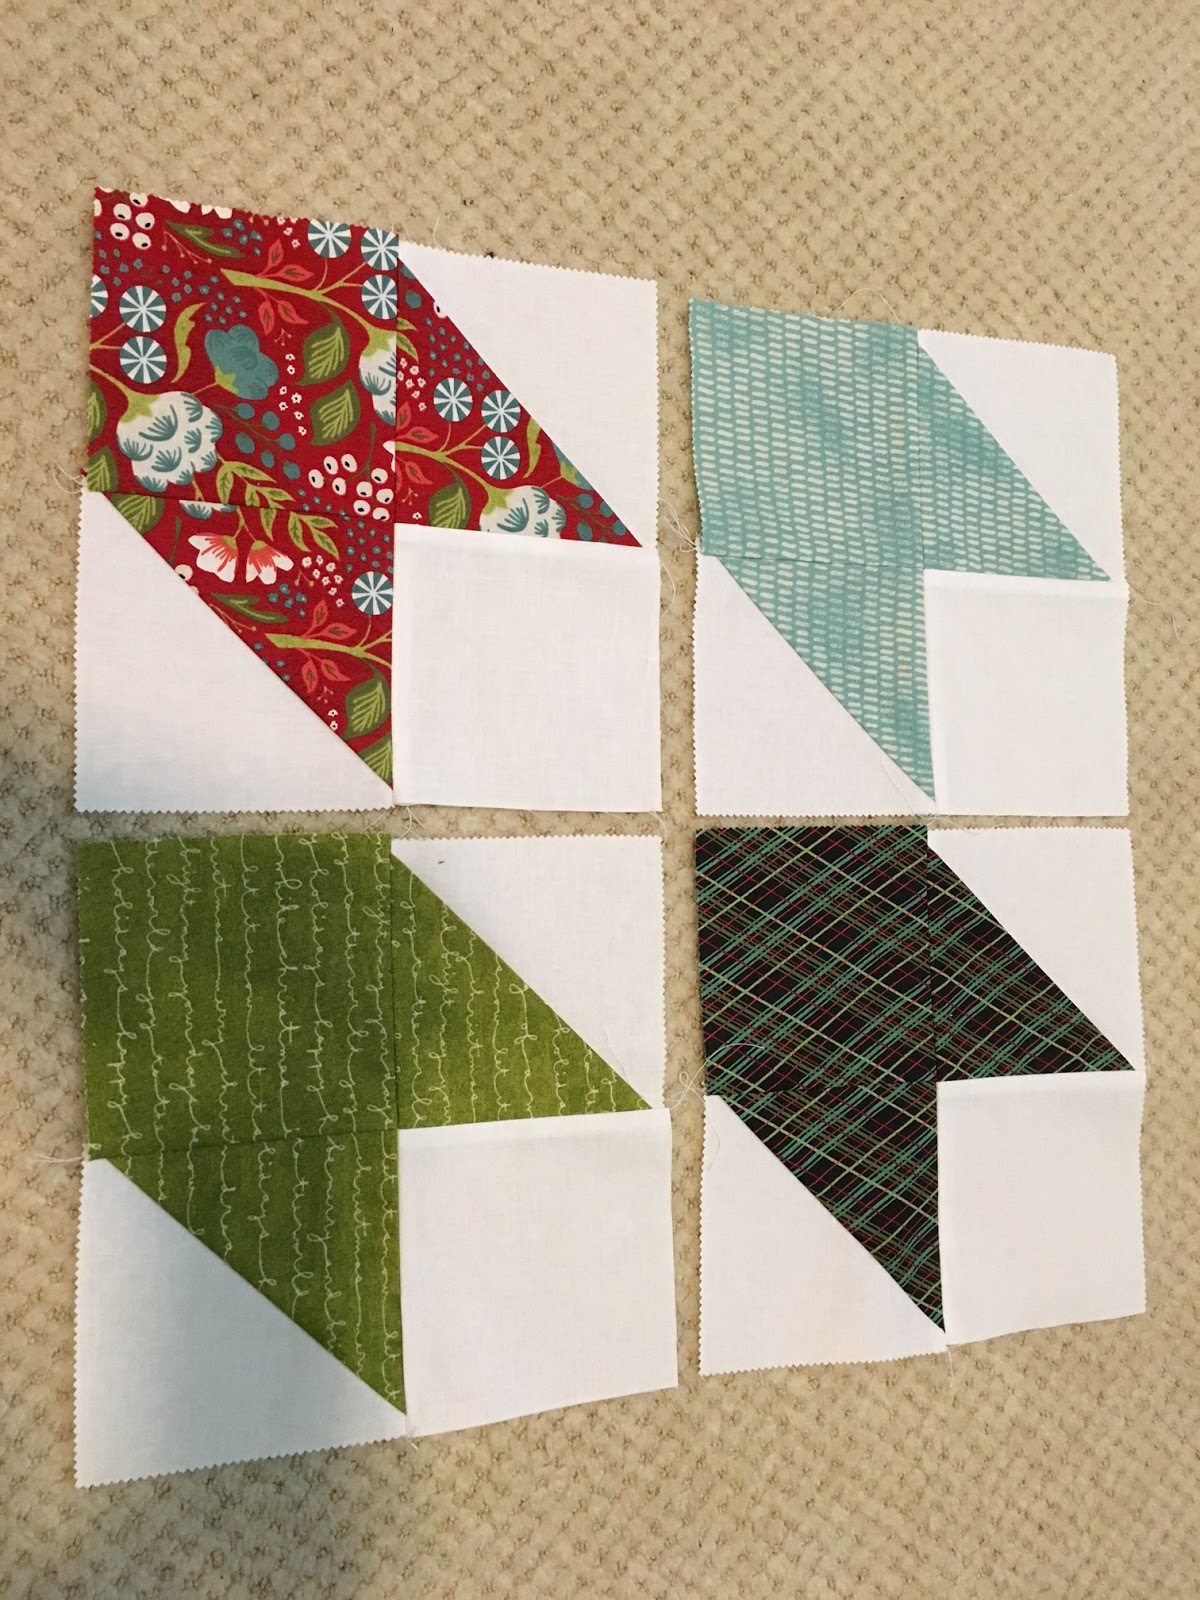
 You'll get fabric in the mail: 8 print charms and 8 solid charms. Draw a diagonal line on half of the white charm squares.


Create two half-square-triangles by sewing 1/4" seams on either side of the diagonal line and trimming on the line.


Press seam OPEN (I found this to result in a straighter seam).

TRIM ALL SQUARES (HSTs, one print, and one solid) to 4.5" & arrange as shown:


Sew together. Repeat 3 more times to make 4 squares.

*If you have a directional print, place your diagonal line as follows in order to keep the print going in the same direction!


Thanks! Maybe the weather will cool off soon if we keep making Christmas projects. *fingers crossed*

emily

Monday, June 27, 2016

Unbreakable snowglobe for Amy!

Here you go, Amy! I was so excited that I had this fabric in my stash. I hope you like it.


Merry Christmas!
emily


Tuesday, June 21, 2016

merry christmas!


I hope you like it, Amy!
I noticed while taking the picture that the base is slightly slanted.  I am up for a re-do if you'd like me to give it a second shot.  I thought it was perfectly straight before I started sewing. :)
Camie

Thursday, June 16, 2016

Snow in June!

Okay, I am super excited about this block, mostly because I engineered it myself simply by looking at many other blocks on the internet, and incorporating all the different aspects I liked from them individually, into one perfect-for-me block.

First I will be sending everyone either a green 10.5 inch square block, as pictured here, or a red square block, along with a wooden "stand" already cut to the correct measurements.

You will also receive a paper template for the correct size circle needed to make the globe part of the block.  Please choose a Christmas design that looks like it could be a scene in a snow globe, or at least the closest you've got, as I did here and fussy cut it so that what remains will look slightly grounded and not like it is floating in air.
Iron on fusible adhesive to the back of both the circle and the wooden stand fabric.  I have found that I don't really need to cover the entire piece of fabric, just enough so that it stays where I want it until I am ready to sew it all down on the background piece.
When positioning the fabric it is important to remember that these blocks will eventually be sewn together.  Leave room for the adjoining seam, on both the top and bottom of the globe.  Also, try and get the circle centered in the middle of the two sides as well as possible.  You can even use a ruler if that will help.  Place the circle down first, and then place the wooden stand over it, making sure that both sides of the stand are exactly even with the sides of the globe.  We don't want our globes to spring a leak! :)
Then sew all around the globe using white thread and a zig zag stitch.  My settings on my machine were with a 2.7 width and a .50 length.  Then use the same settings, but brown thread, to stitch all around the stand. And that's it, you are done!

I can't decide on if I should embroider snowflakes around the background fabric, sew some iridescent sequins on to the circles to make it look like glitter in the globes, or both.  Any thoughts?

Thank you so much ladies! I am really excited to make this for my mom.  She used to have quite a lovely snow globe collection, amassed over several years.  And then one fateful night, the shelf they were displayed on got knocked pretty hard by the shoulder of a teenage boy creeping home in the night and they all came crashing down.  She has never tried to replace them, but really loves remembering them.  I thought this would be a good, unbreakable substitute! :)

Thursday, June 9, 2016

Oh right, um, it's June....

I do have a block.  I even have the fabric.  I do not have time to explain it yet.  I will make time next week.  It is a very simple block, if that helps.  I want to make a "snow globe" block and use them to make a table runner for my mom for Christmas. So if you want to start digging through your stash to find a 6 inch square of cute Christmas fabric that would resemble a scene in a snow globe when fussy cut into a circle, that would be great.  I will send the background fabric and the fabric for the "wooden base" of the snow globe.

Saturday, May 28, 2016

oregon forest

Here it is- and I LOVE it.  My husband said it is his very favorite of all the quilts I've ever made.  It's a keeper.  Thank you, everyone, for helping me!
Camie

Tuesday, May 17, 2016

April fabric brings May Hearts!

This heart was so fun and quick to sew together.


I think it's going to be a really sweet quilt when finished.   And since I hate waste,  I went ahead and sewed the parts we cut off into half-square triangles for you to make a matching something with.  
If everybody sent you the extras I bet you could almost make a second small quilt. I know a couple people have already made theirs, but maybe they still have the scraps?  :)
I did that with a quilt I made for myself and ended up with enough to make a second full quilt for my daughter.

Wednesday, May 4, 2016

Raspberry Kisses

I was asked to pick the block for my quilt guild's modern friendship swap this year. It was stressful and hard to narrow it down to one. I picked the Raspberry Kiss block (in the larger 9" size) because it was simple, bright, and lended itself well to swapping. 22 quilters signed up and we each made 44 blocks. This is my finished quilt. Isn't it fun!?


I love it!
emily